How to Connect Your WordPress Site with RightBlogger
Install the plugin once, then send drafts or live posts automatically.
WordPress for RightBlogger is finally here, and it just got a whole lot better.
If you’re a blogger, you already know how powerful WordPress is, and now you can connect it directly to RightBlogger using our official WordPress plugin. That means no more copying and pasting, no more juggling drafts, and no more manual publishing workflows.
Download the official RightBlogger WordPress plugin here. But keep reading to figure out how to get the most out of the plugin.
Instead, your content can flow automatically from RightBlogger straight into WordPress, whether you’re publishing one article at a time or running a full auto-blogging content calendar.
Let’s walk through exactly how it works.

Why Connect WordPress to RightBlogger?
If you’ve been manually moving content from RightBlogger into WordPress, you already know how time-consuming that can be.
With the WordPress plugin, you can:
- Publish content directly from RightBlogger to WordPress
- Automatically schedule posts using the Content Planner
- Send drafts, pending posts, or published articles
- Sync SEO titles and meta descriptions with SEO plugins
- Automatically assign categories, featured images, and more
- Notify search engines instantly when you publish using IndexNow
In short, this integration removes friction and lets you focus on content, not logistics.
Setting Up WordPress in RightBlogger
Step 1: Access Your Project in RightBlogger
Once logged into RightBlogger, head to the Projects section from the sidebar. This is where all WordPress integrations are managed.
Select an existing project or click Add Project to create a new one. Inside your project, scroll down to the Integrations tab and find the WordPress section.
This is where the plugin setup begins.
Step 2: Download the RightBlogger WordPress Plugin
Inside the WordPress integration settings, you’ll see instructions along with a link to download the RightBlogger WordPress plugin.
Download the plugin file and keep it as a .zip. You’ll upload this directly to WordPress.
Keep in mind that free WordPress.com sites are not supported, since they don’t allow publishing through the WordPress API.
Step 3: Install the Plugin on Your WordPress Site
Next, head over to your WordPress dashboard.
- Go to Plugins → Add New
- Click Upload Plugin
- Select the RightBlogger plugin
.zipfile - Click Install Now
- Activate the plugin once it finishes installing
After activation, you’ll see a new RightBlogger plugin entry in your WordPress admin.
Step 4: Connect WordPress to RightBlogger
Open the RightBlogger plugin settings in WordPress and click Connect to RightBlogger.
You’ll be prompted to choose which RightBlogger project this site should be connected to. Select the project, confirm the connection, and return to WordPress.
Once connected, RightBlogger will automatically detect supported SEO plugins like Yoast SEO and send SEO titles and meta descriptions directly into WordPress.
Publishing Posts From RightBlogger to WordPress
With the plugin installed, publishing content becomes extremely simple.

Anything created in tools like the Article Writer or Video to Blog can be sent directly to WordPress. If you’re using the Content Planner, scheduled posts will automatically publish based on your selected settings.
Inside the WordPress integration settings, you can choose whether content is sent as:
- Draft
- Pending
- Published
You can also enable auto-categories, featured images, SEO titles, and meta descriptions so your posts arrive fully formatted.
Editing Content Before Posting
If you prefer to review or tweak content before it goes live, RightBlogger still gives you full control.
You can edit content inside the Article Writer or the Editor before it’s sent to WordPress. Formatting, images, and headings carry over automatically, so there’s no need to rework your content once it reaches WordPress.
This makes it easy to fine-tune posts without breaking your workflow.
Instant Indexing with IndexNow
When you publish a post from RightBlogger to WordPress, the plugin automatically pings search engines through IndexNow. This notifies engines like Bing and Yandex that new content is available on your site, so they can crawl and index it faster.
There’s nothing to configure. IndexNow is built into the plugin and works automatically for all RightBlogger subscribers. Every time a post is published through the integration, the ping is sent behind the scenes.
Automatic Maintenance with Site Agent
Once your site is connected through the plugin, you can also turn on Site Agent. It runs on a recurring schedule, scans your recent posts and Google Search Console data, and queues the highest-impact fixes it finds, so you stop hunting for what to update next.
On a connected WordPress site, Site Agent looks for things like:
- Internal links between related posts, including the anchor text it suggests
- Sharper meta descriptions on pages that rank well but lose the click
- Stale year references in titles after the calendar turns over
- Broken outbound links, caught before your readers hit them
You stay in control with three approval modes: Ask Approval, Smart, and Fully Automatic. Every suggestion reads and writes through the same plugin connection you set up above, and every applied edit keeps a one-click undo for 30 days. Site Agent is included on the Solo, Pro, and Agency plans.
What About Application Passwords?
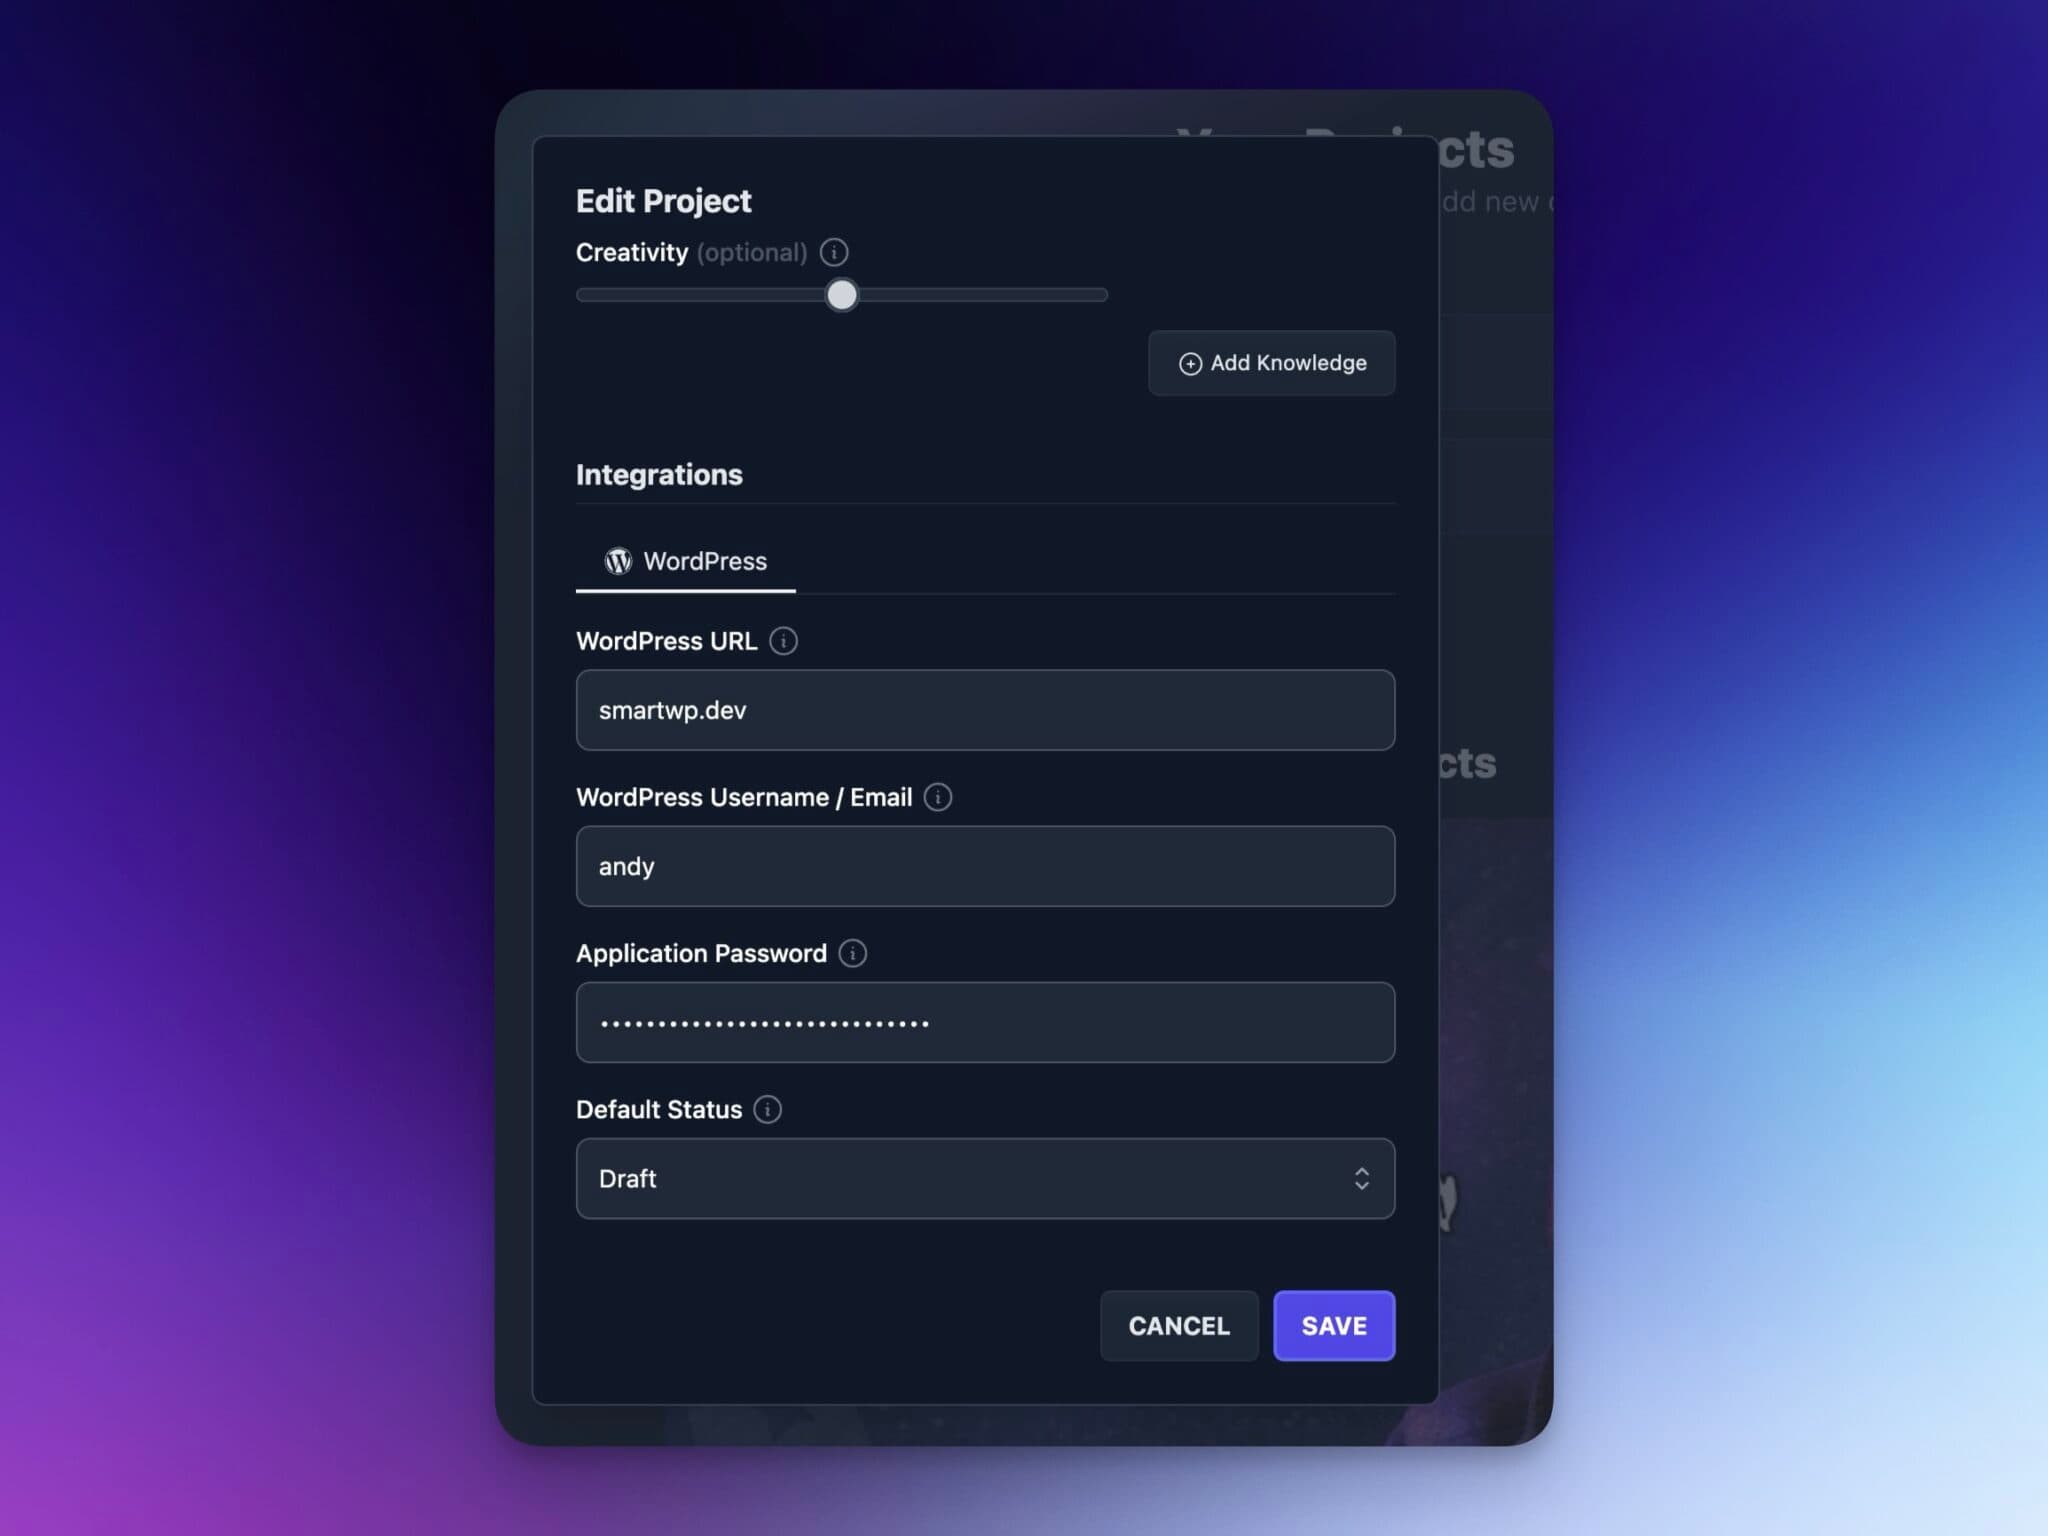
If you previously connected WordPress to RightBlogger using application passwords, that method is now considered legacy.
The WordPress plugin replaces application password authentication entirely. You may still see references to application passwords if you connected your site before the plugin existed, but for all new setups, the plugin is the recommended approach.
Conclusion
Connecting WordPress to RightBlogger using the WordPress plugin is the easiest way to streamline your content workflow.
Here is the URL to download the official RightBlogger WordPress Plugin:
https://rightblogger.com/rightblogger-wordpress-plugin.zip
You can create, edit, schedule, and publish posts without manual copying and pasting, while keeping full control over SEO and formatting. If you run into any issues, check out our guide on debugging WordPress issues in RightBlogger.
Have suggestions for other platforms you’d like to see integrated? We’re always looking for feedback to keep improving RightBlogger.
New:Site Agent
Automated SEO Blog Posts That Work
Try RightBlogger for free, we know you'll love it.
- Automated Content
- Blog Posts in One Click
- Unlimited Usage


