How to Use Webhooks with RightBlogger
Send title and HTML content anywhere with a simple POST webhook setup.
Are you a developer looking to automate your publishing workflow? RightBlogger now supports outbound Webhooks, so you can send your AI-generated articles anywhere (Zapier, Make, or your own server) without copy and pasting.

No more copy-paste or manual exports! Imagine creating a post in RightBlogger and instantly triggering an automation that publishes it to any platform you like.
Sounds good, right?
This guide shows you how to set up Webhooks in RightBlogger.
RightBlogger + Webhooks
What does the Webhook integration actually do? Simple: every time you click Send To → Webhook, RightBlogger fires a POST request to the URL you provide, containing the post and its metadata as JSON. The main fields are:
| Field | Description |
|---|---|
title | The post title (text) |
content | Full post body in HTML |
content_markdown | The same body converted to Markdown |
excerpt | A short summary of the post |
seo | Object with title, description, keyword, and permalink |
project | The RightBlogger project (id and name) |
sent_at | ISO 8601 timestamp of when the webhook fired |
request_id | ID of the generation request, when available |
options | The settings used to generate the post (writing style, language, point of view, audience, keyword, and instructions), when available |
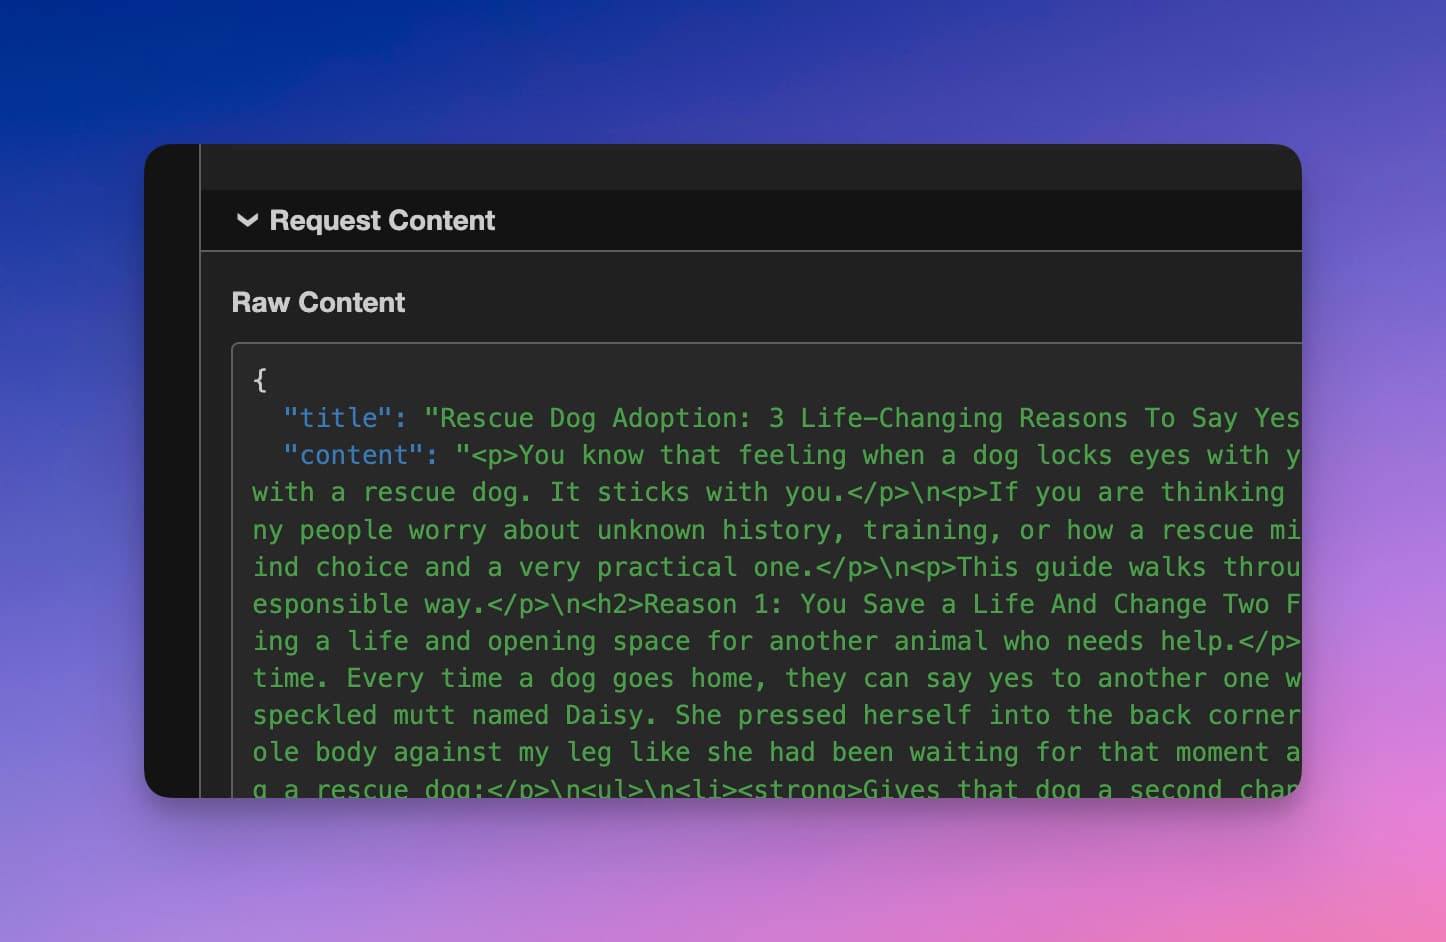
Here is an example of the JSON payload RightBlogger sends:
{
  "title": "10 Quick SEO Wins",
  "content": "<h2>1. Tighten your titles</h2><p>Front-load your main keyword...</p>",
  "content_markdown": "## 1. Tighten your titles\n\nFront-load your main keyword...",
  "excerpt": "Ten fast, practical SEO improvements you can ship today.",
  "seo": {
    "title": "10 Quick SEO Wins to Boost Rankings",
    "description": "Ten fast, practical SEO improvements you can ship today.",
    "keyword": "seo wins",
    "permalink": "10-quick-seo-wins"
  },
  "project": {
    "id": 2588,
    "name": "My Blog"
  },
  "sent_at": "2026-06-18T18:00:00.000Z",
  "request_id": 4837597,
  "options": {
    "style": "Conversational",
    "language": "English",
    "pov": "Second person",
    "audience": "Small business owners",
    "primary_keyword": "seo wins",
    "additional_instructions": "Keep paragraphs short and skimmable."
  }
}
That’s it, clean, predictable JSON you can pipe into Zapier, Make, n8n, or your own endpoint. We are also working on more fields being added so if you’d like to see anything specific just send us an email.
Setting Up a Webhook: Step-by-Step
Like our other integrations, Webhooks live inside Projects.
Step 1: Go to Projects
Head to the “Projects” section in RightBlogger.
No project yet? Click Add Project, give it a name, and add your site URL.
Step 2: Open the Integrations Tab
On your project page, click the Integrations tab.
Step 3: Choose Webhook
You’ll see WordPress, Ghost, Webflow… and now Webhook. Click it.
Step 4: Paste Your Webhook URL
- Grab a Webhook endpoint from your service of choice:
- Zapier → “Catch Hook” trigger
- Make → “Custom Webhook”
- Your own server → any route that accepts POST
- Paste the URL into the Webhook URL field.
Step 5: Save Changes
Click Save Changes. Your Webhook integration is now active.
Sending Content via Webhook
Ready to test? Use any content tool, Article Writer, Video to Blog, or the RightBlogger Editor.
- Create or edit your post.
- Scroll to the bottom bar and click Send To.
- Choose your Webhook (it’ll show the name you set).
- Watch the status message. You’ll see “Success” plus the raw server response; perfect for debugging.
Once you’ve learned the basics of your project, you can fully automate the process with the content automation tools in RightBlogger.
Verifying the Payload (Example: Zapier)
If you’re using Zapier:
- In Zapier, set Trigger → Webhooks by Zapier → Catch Hook.
- Copy the generated URL and paste it into RightBlogger (Step 4 above).
- Send a test article.
- Back in Zapier, click Test Trigger → you’ll see the payload fields, for example:
title, “10 Quick SEO Wins”content, full HTML body
From here you can route the post to WordPress, Notion, Google Docs, or anywhere Zapier supports.
You can also use tools like webhook.site to test webhooks. This is my favorite way to see what data you will be sent from a webhook.
Along with the content and title, we also include the options used in the request. These options cover writing style, language, point of view, audience, main keyword, and any extra instructions. This helps you fully customize your workflow.
Receiving the Webhook in Next.js
Prefer to handle posts in your own app? Here is a minimal Next.js App Router route handler that receives the webhook. Point your Webhook URL at https://yoursite.com/api/rightblogger-webhook, then do whatever you like with the article (saveDraft below is just a placeholder for your own logic).
// app/api/rightblogger-webhook/route.ts
import { NextRequest, NextResponse } from 'next/server'

export async function POST(req: NextRequest) {
  // Optional: only accept requests coming from RightBlogger
  const userAgent = req.headers.get('user-agent') ?? ''
  if (!userAgent.includes('RightBlogger')) {
    return NextResponse.json({ error: 'Forbidden' }, { status: 403 })
  }

  const post = await req.json()
  const { title, content, content_markdown, excerpt, seo, options } = post

  // Do whatever you need with the article: save a draft, push to
  // your CMS, trigger a rebuild, send a notification, etc.
  await saveDraft({
    title,
    html: content,
    markdown: content_markdown,
    excerpt,
    metaTitle: seo?.title,
    metaDescription: seo?.description,
    focusKeyword: seo?.keyword,
    slug: seo?.permalink,
    writingStyle: options?.style,
  })

  // Always return 200 so RightBlogger marks the send as successful.
  // (RightBlogger does not retry failed deliveries.)
  return NextResponse.json({ ok: true })
}
A few things to keep in mind: respond with a 200 status so RightBlogger records the send as successful, return quickly (do any slow work in the background), and check the User-Agent header if you want to make sure the request really came from RightBlogger.
Tips & Best Practices
- Validate your endpoint: Return a
200 OKto prevent issues. We currently do not support retries. - Limit size: Large articles? Make sure your service can handle the payload.
- Add fields (optional): Today we send the full article (
title,content,content_markdown,excerpt),seometadata,projectinfo, asent_attimestamp, and theoptionsused to generate it. Need more? Let us know, we’re listening!
Keep in mind also the user-agent sent from RightBlogger will be RightBlogger/1.0 (https://rightblogger.com)
This is useful if you have security filters set up and want to make sure RightBlogger can communicate with your webhook.
Conclusion
The RightBlogger Webhook integration unlocks endless possibilities: publish to custom CMSs, trigger email campaigns, syndicate to social platforms, anything that speaks HTTP.
Give it a spin and show us what you build. We can’t wait to see your automations in action!
New:Site Agent
Automated SEO Blog Posts That Work
Try RightBlogger for free, we know you'll love it.
- Automated Content
- Blog Posts in One Click
- Unlimited Usage


